OK, this is very easy!!!
the result is very cool, and the effort is absolutely minimal.
First of all, we need the right kind of texture.
We need a texture with alpha channel.
I will not go into how to make an alpha channel, because there is a tutorial on GOM for that.
Right, I have already made a texture with alphachannel,
http://www.gom-team.com/uploader/achterruitverwarming.rarl that's where you can get it.
OK, now we have all we need!
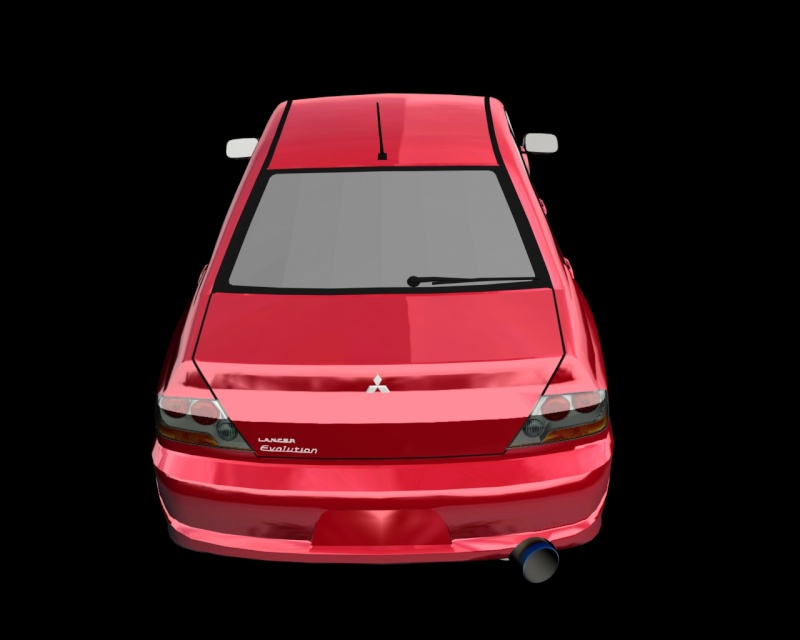
When we start off, things will prolly look like this:

a dull gray material..
Now we need to set opacity and make it 2-sided.
You can see my opacity settings here:

I have set opacity to 70, because I like my rear windshield to be quite dark.
The higher the opacity, the less transparent it will be!
If you think that it's too high or to low, just adjust it. You can also leave it single- sided, so you can always see through the window without any problems.
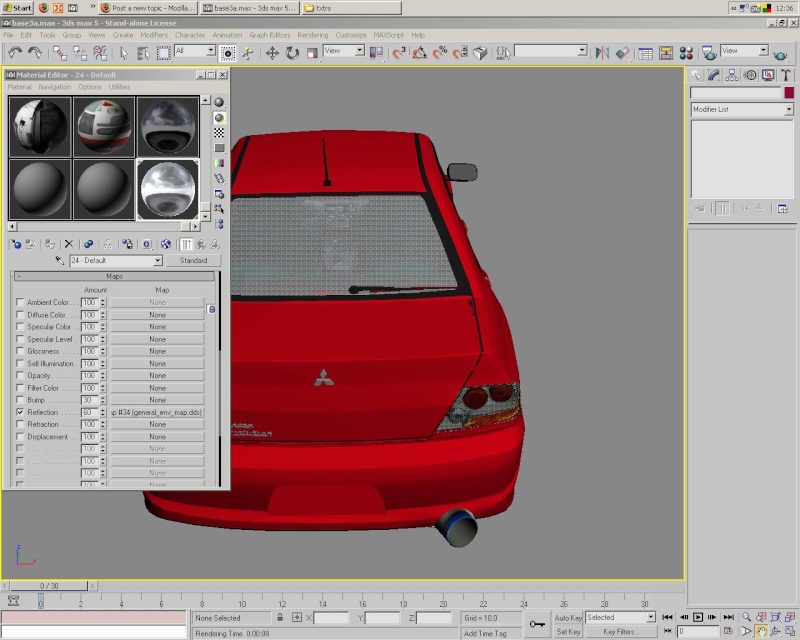
Now, we need to set the reflection.
This is how to do it (SLRR SETTINGS!!!)
Material Editor-->Maps-->Reflection 60-->general env.dds

You can find the generalenv.dds in:
C:Program Files/Activision Value/Street Legal Racing Redline/Cars/Textures.
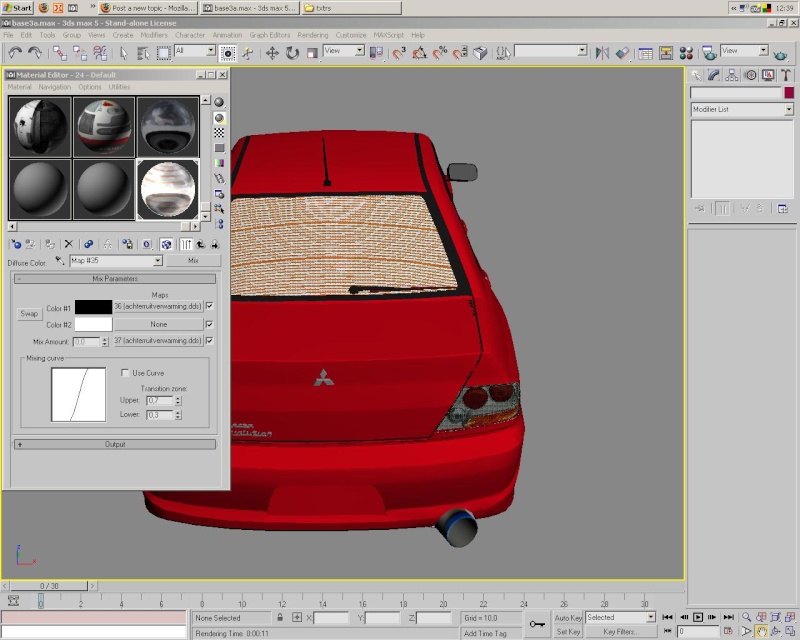
OK, now we need to place the texture:
Material Editor-->Diffuse Color 100-->Mix!
Settings must be like this:

Please, don't forget to set the "color#2"to "default black".png, which you can find in:C:Program Files/Activision Value/Street Legal Racing Redline/Cars/Textures.
We're almost there!
When you have the rear windshield selected, goto:
Modifier List-->UVW Map-->set as a box, and just fiddle around with UVW amounts, in my case a 60,130 and 40 did the trick, but the amounts depend on the size of your rear windshield.
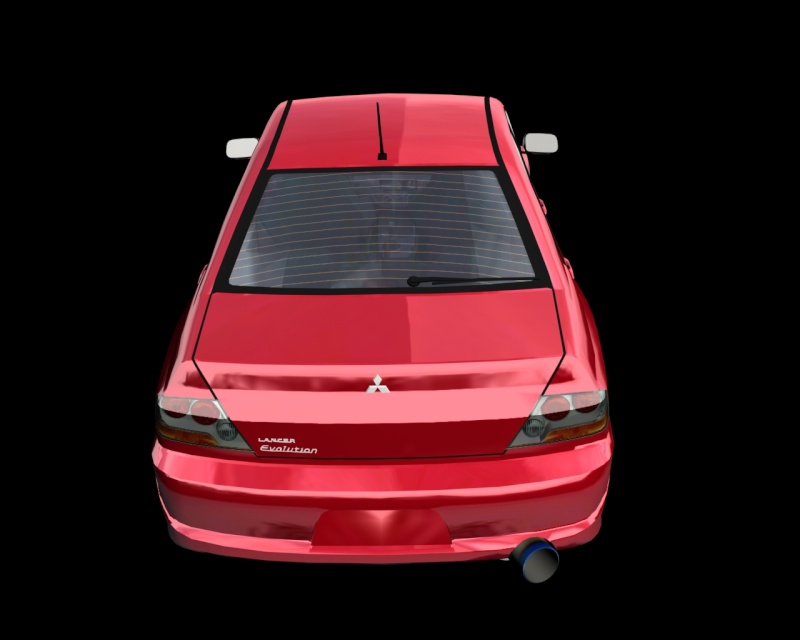
The final result looks like this:

I hope that this tutorial will be usefull for you!
Regards, David


